In this example we will see how to mirror the PC or laptop desktop’s screen and audio-in (e.g. microphone) to the Raspberry Pi display and speakers with Firefox or Chrome. No special software or browser plug-in needs to be installed on the PC or laptop as a web application with the basic functionalities is provided by the UV4L Streaming Server and gets downloaded by the browser by simply visiting the appropriate URL. As opposite to many other screen sharing applications, no X Server is required on the Raspberry Pi, as UV4L makes use of the display natively.
It’s of course possible for you to customize or install your own screen sharing web application, but this is out of scope now (see this example if you are interested).
Requirements:
- download and install the UV4L software on your Raspberry Pi. For the purposes of this simple example, you will only really need the following packages: uv4l, uv4l-dummy, uv4l-server, uv4l-webrtc . Please refer to the installation instructions.
- HTTPS must be enabled in the UV4L Streaming Server for the browser to share the desktop. To do this, you will need a SSL private key and a valid SSL certificate. If you do not have them already, you can generate them by running the following command on the Raspberry Pi:
sudo bash -c "openssl genrsa -out /etc/ssl/private/selfsign.key 2048 && openssl req -new -x509 -key /etc/ssl/private/selfsign.key -out /etc/ssl/private/selfsign.crt -sha256"
- Open Firefox on your PC or laptop, type about:config in the address bar and press enter. In the Search field, type media.getusermedia.screensharing.enabled and toggle its value to true with a double-click. Now search for media.getusermedia.screensharing.allowed_domains and add your Raspberry Pi hostname or IP address or domain name to the list in the string (e.g. 192.168.1.2).
Now you are ready. For example, assuming you have a Full-HD display attached to the Raspberry Pi, open a terminal on the Raspberry Pi and run a new instance of uv4l with a command like this (in one line):
uv4l --driver dummy --auto-video_nr --enable-server --server-option '--use-ssl=yes' --server-option '--ssl-private-key-file=/etc/ssl/private/selfsign.key' --server-option '--ssl-certificate-file=/etc/ssl/private/selfsign.crt' --server-option '--enable-webrtc-video=no' --server-option '--enable-webrtc-audio=no' --server-option '--webrtc-receive-video=yes' --server-option '--webrtc-receive-audio=yes' --server-option '--webrtc-renderer-source-size=yes' --server-option '--webrtc-renderer-fullscreen=yes' --server-option '--webrtc-receive-datachannels=no' --server-option '--port=9000'
At this point the UV4L Streaming Server should be running and listening to the HTTPS port 9000 for incoming connections. Open a tab in Firefox and enter the URL of the web page that allows you to mirror the desktop screen (or even a just window) and optionally cast the microphone, i.e. https://raspberrypi:9000/stream/webrtc, where “raspberrypi” has to be replaced with the hostname or IP address of your Raspberry Pi in the network (on the first access you may be asked to trust the self-signed certificate if you have generated them as shown above).
The web page should look like this:
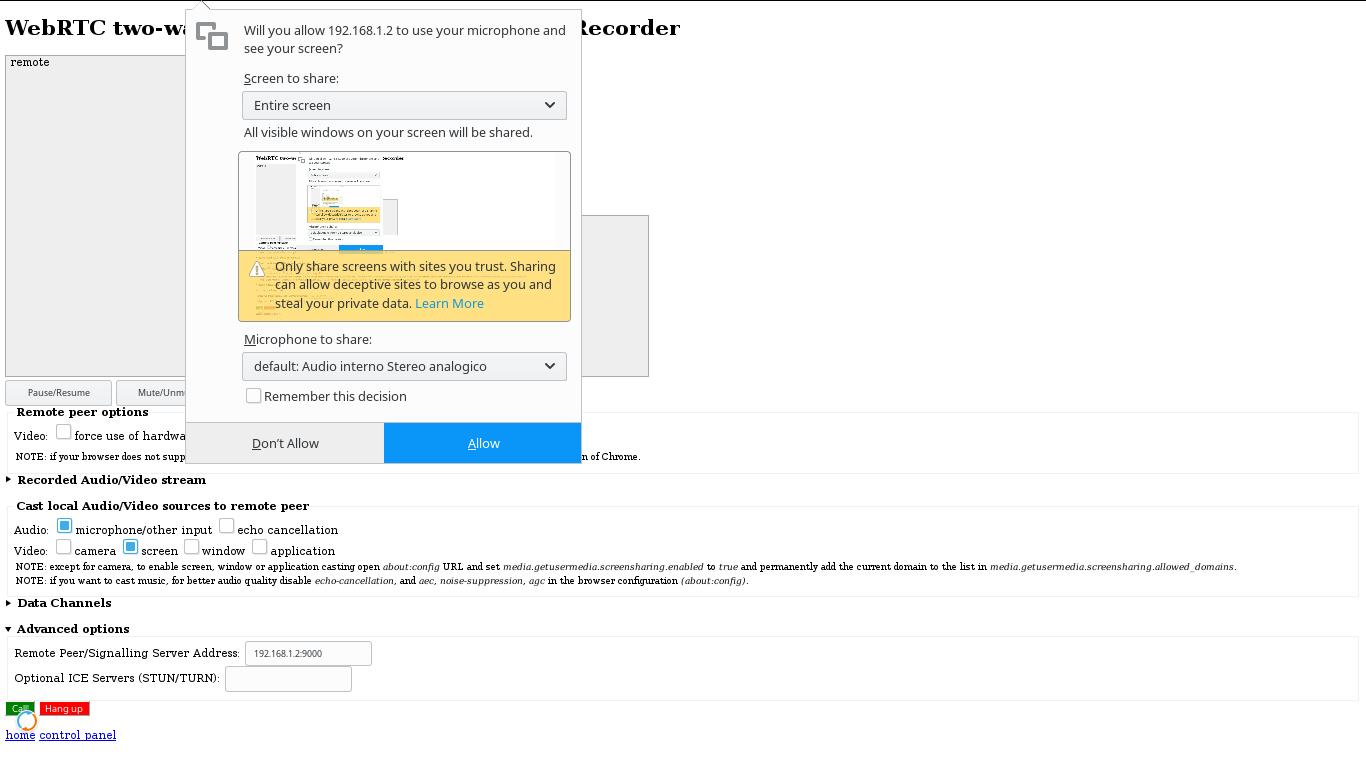
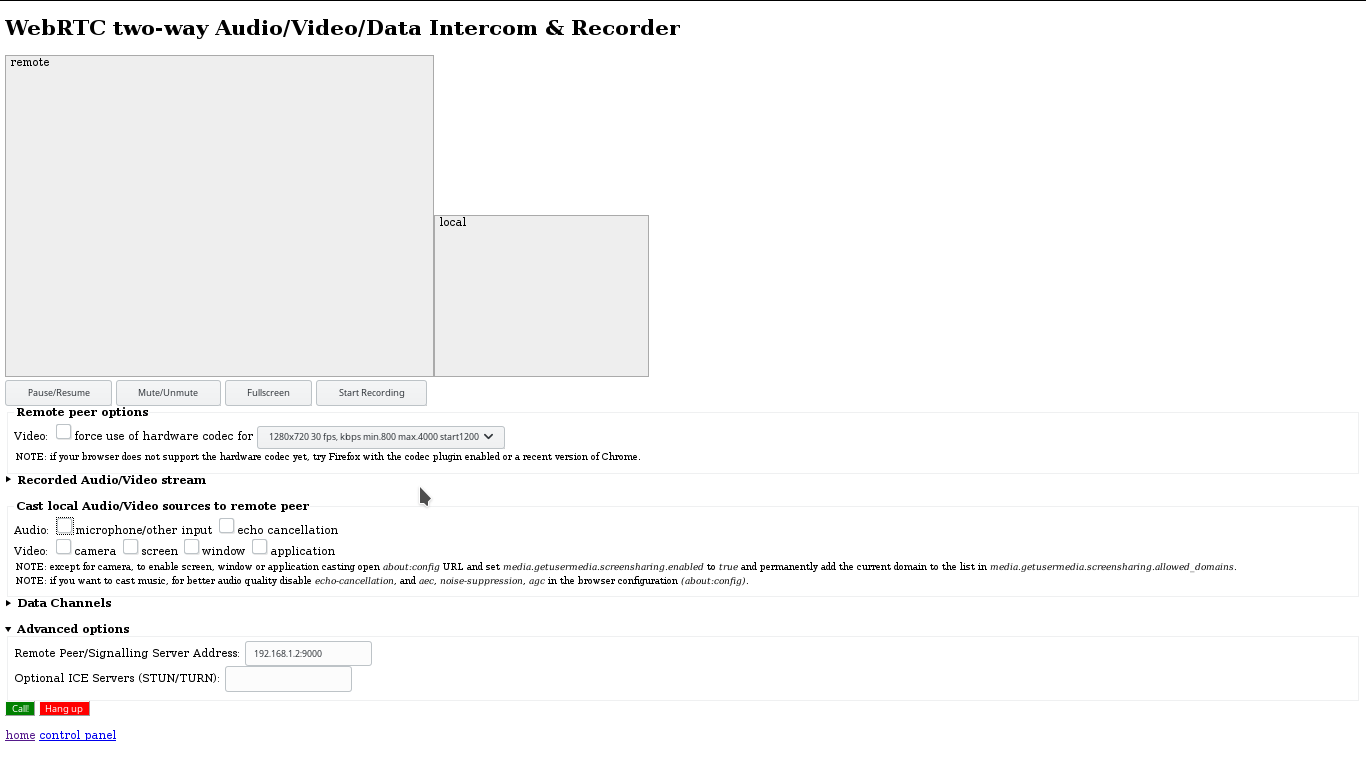 To start casting all have to do is to check the two “Audio: microphone/other input” and the “Video: screen” checkboxes under the “Cast local Audio/Video sources to remote peer” section and click on the green button “Call”. A browser pop-up will then appear asking you to select the screen and audio input device and to allow sharing the media sources:
With Chrome the steps are similar, but first you must run it with –enable-usermedia-screen-capturing flag turned on, for example:
$ google-chrome --enable-usermedia-screen-capturing
The reason why you need to pass the flag is that the demo page built in the UV4L Streaming Server is based on some old API which explicitly requires this. Nowadays we should probably be using the Chrome Desktop Capture API instead. Feel free to write your own web application using that API and to propose it as a replacement of the page in the UV4L Streaming Server